|
HDF5
1.15.0
API Reference
|

|
|
HDF5
1.15.0
API Reference
|
|
Navigate back: Main / Getting Started with HDF5
This tutorial enables you to get a feel for HDF5 by using the HDFView browser. It does NOT require any programming experience.
Once you have HDFView installed, bring it up and you are ready to begin the tutorial.
This tutorial requires that the default HDFView File Access Mode be Read / Write. If fields are greyed out so that you cannot select them, then the File Access Mode is Read Only. To change the File Access Mode follow these steps:
|
Following are the topics covered in the tutorial. The first topic creates the file that is used in the subsequent topics.
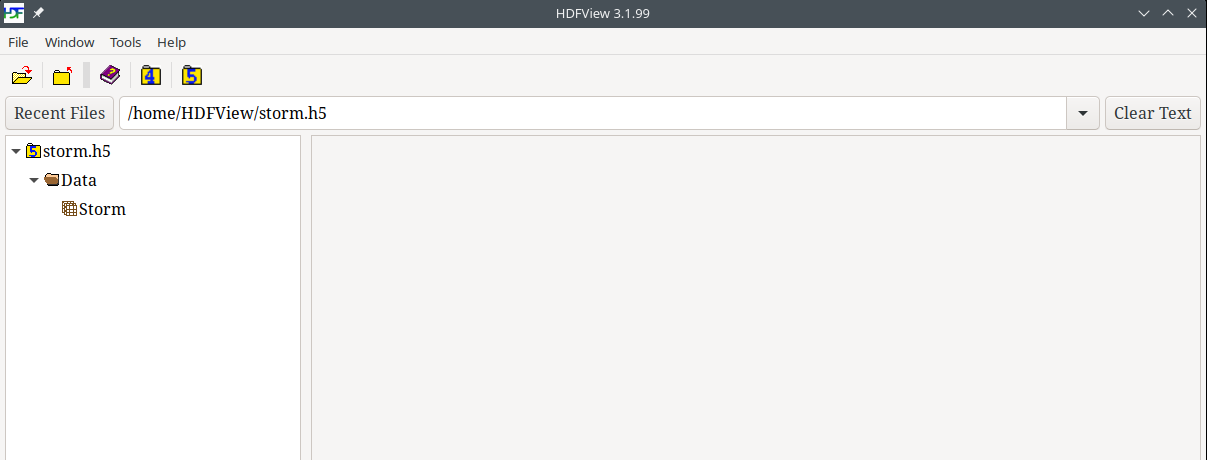
The steps below describe how to create a file (storm.h5), group (/Data), and a contiguous dataset (/Data/Storm) using HDFView. A group is an HDF5 object that allows objects to be collected together. A dataset is an array of data values. A contiguous dataset is one that is stored as a single block in the HDF5 file.
|
|
| Dataset Name | Storm |
|---|---|
| Under Dataspace, Current size | 57x57 |
| Layout | Contiguous (default) |
|
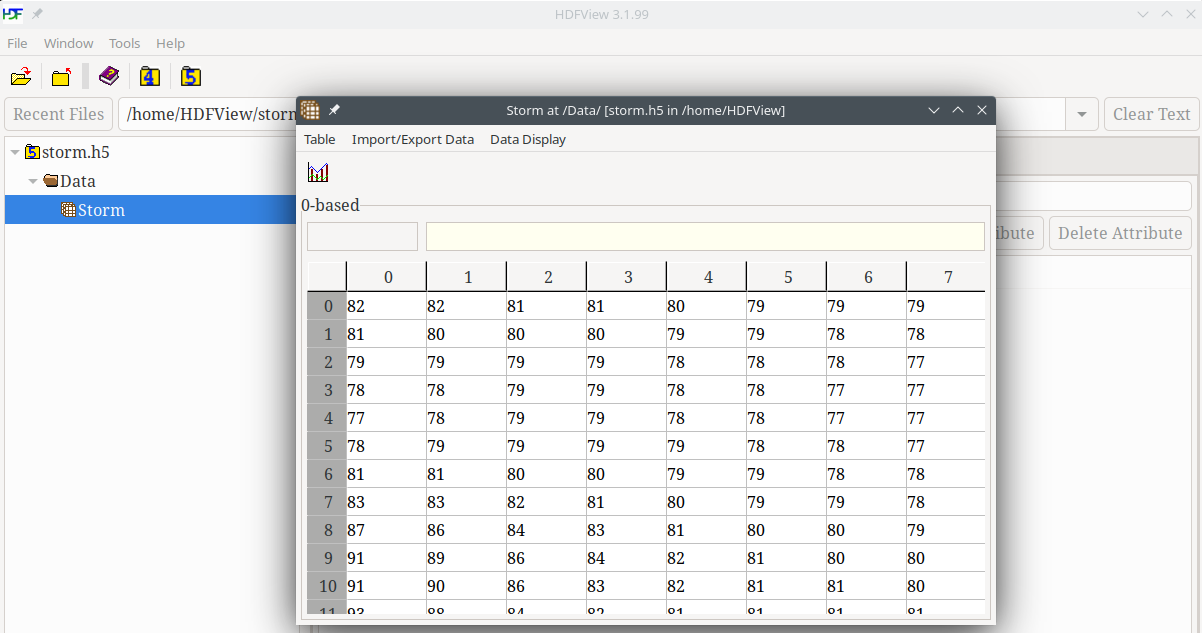
Copy the data from the storm1.txt file into the dataset.
If you downloaded storm1.txt, then click on the Import/Export Data menu and select Import Data from -> Text File. Specify a location, select storm1.txt and click on the Open button. Answer Yes in the dialog box that pops up (which asks if you wish to paste the selected data).
Alternately, you can copy/paste directly. Select and copy the data in a separate window. Position your cursor at (0,0) in your table, and select Paste from the Table menu.
The values will be entered into the spreadsheet.
|
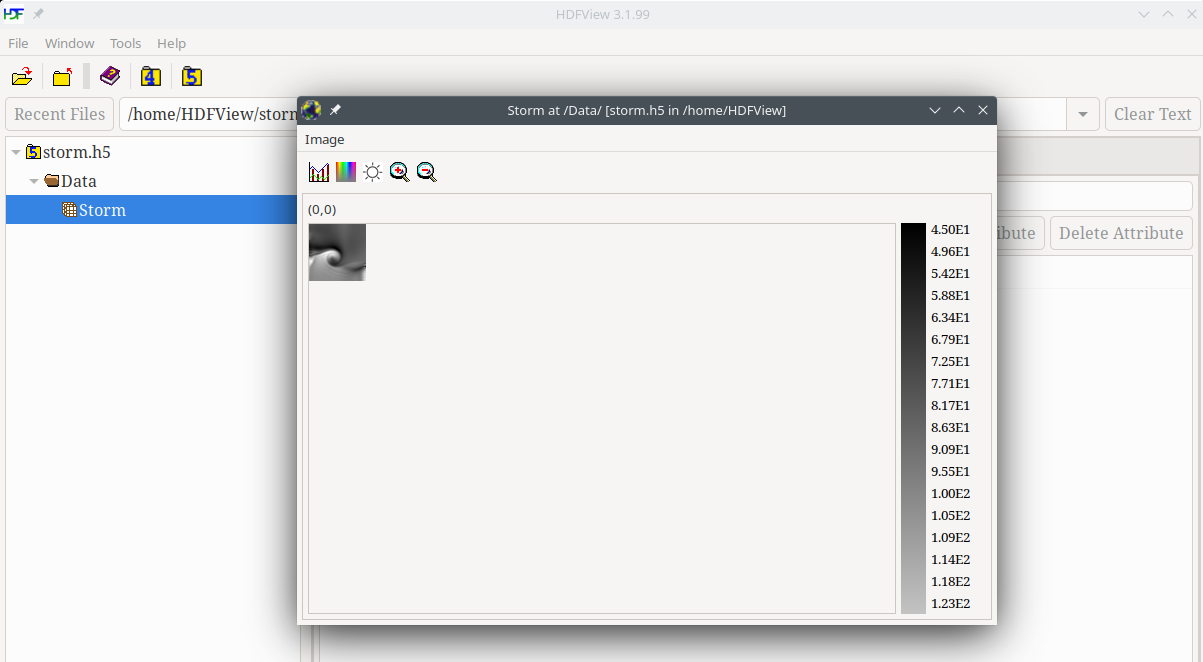
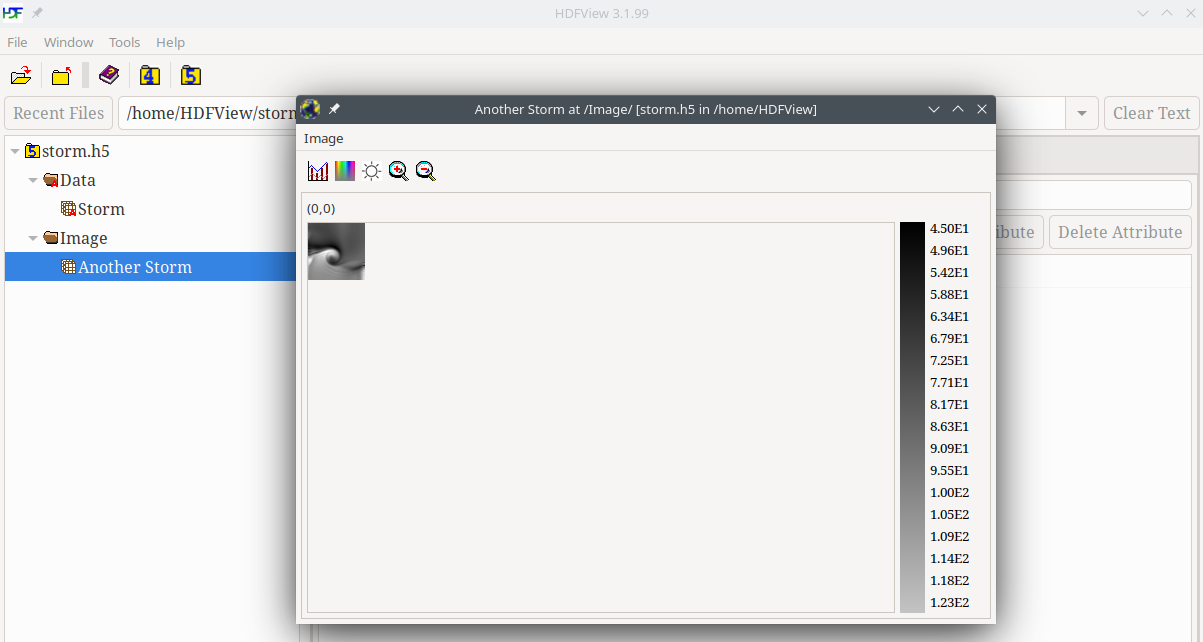
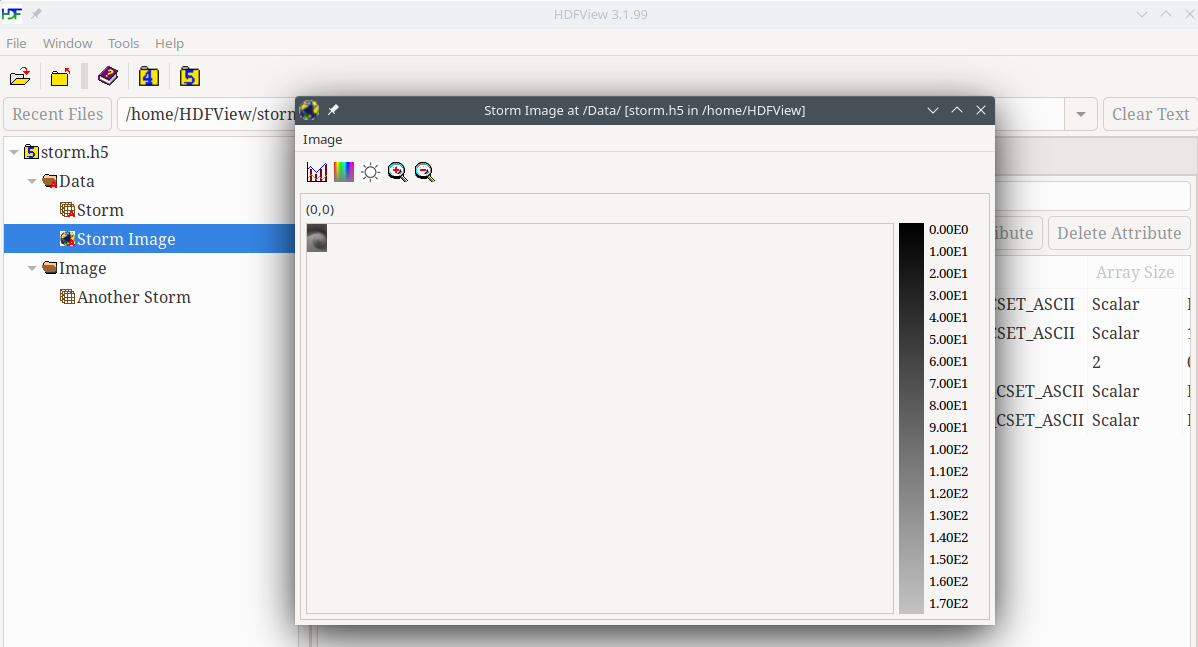
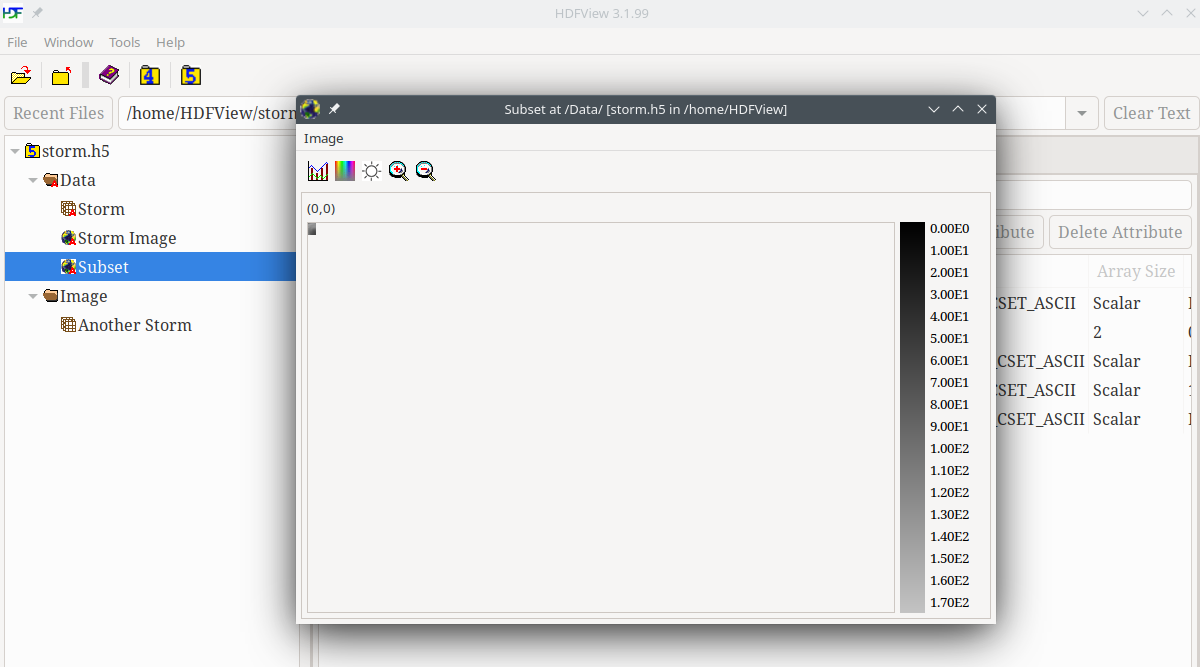
Any dataset can be viewed as an image in HDFView. Below are the steps that demonstrate this.
|
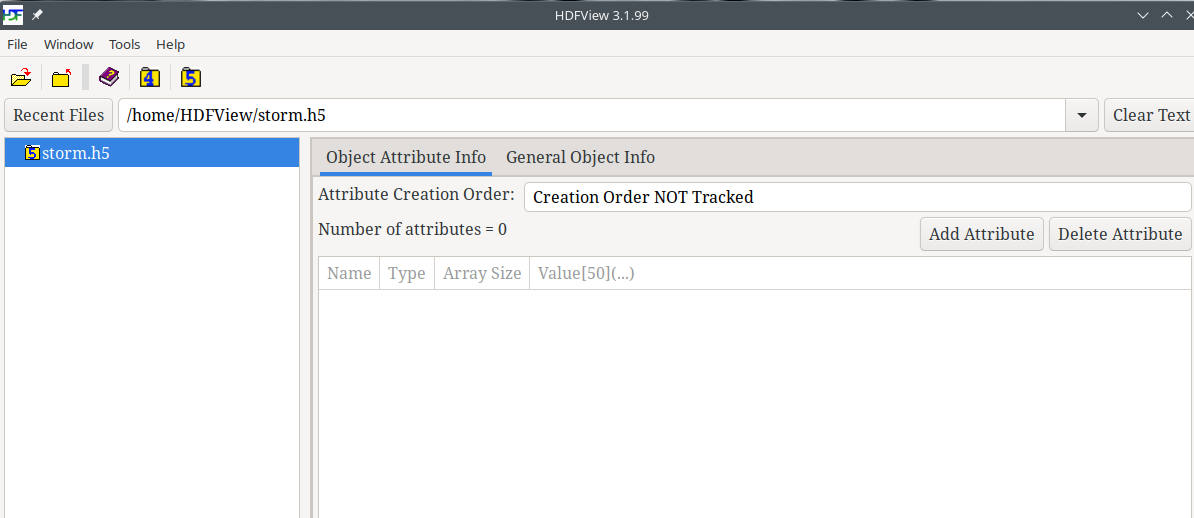
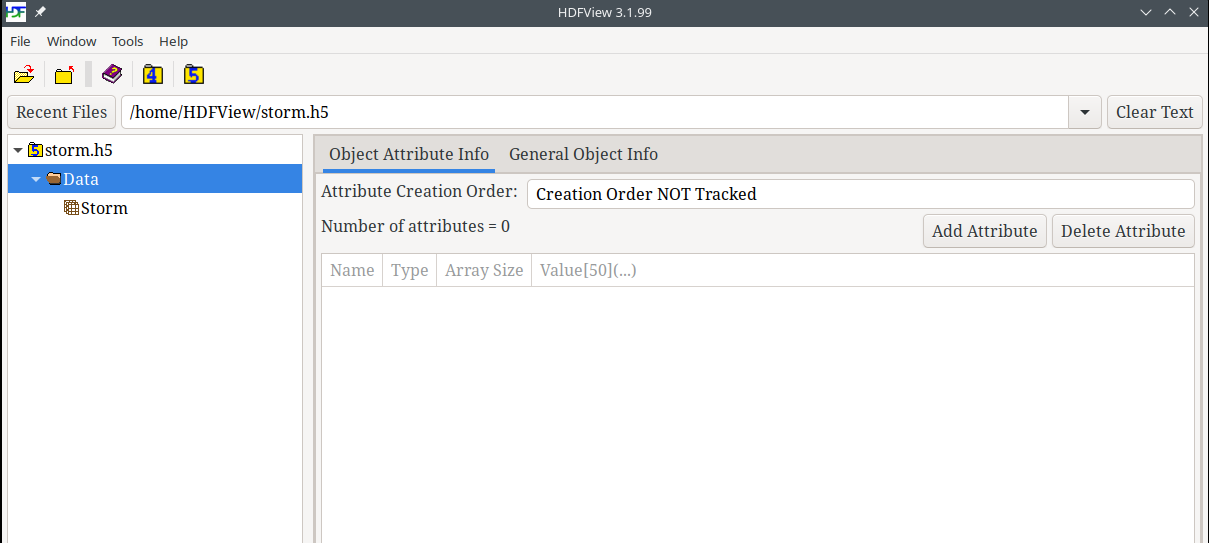
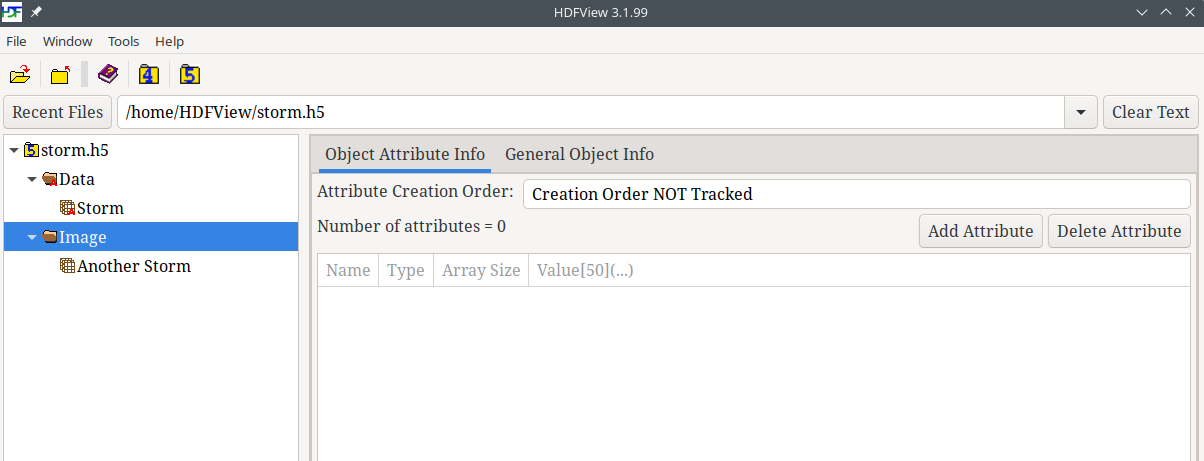
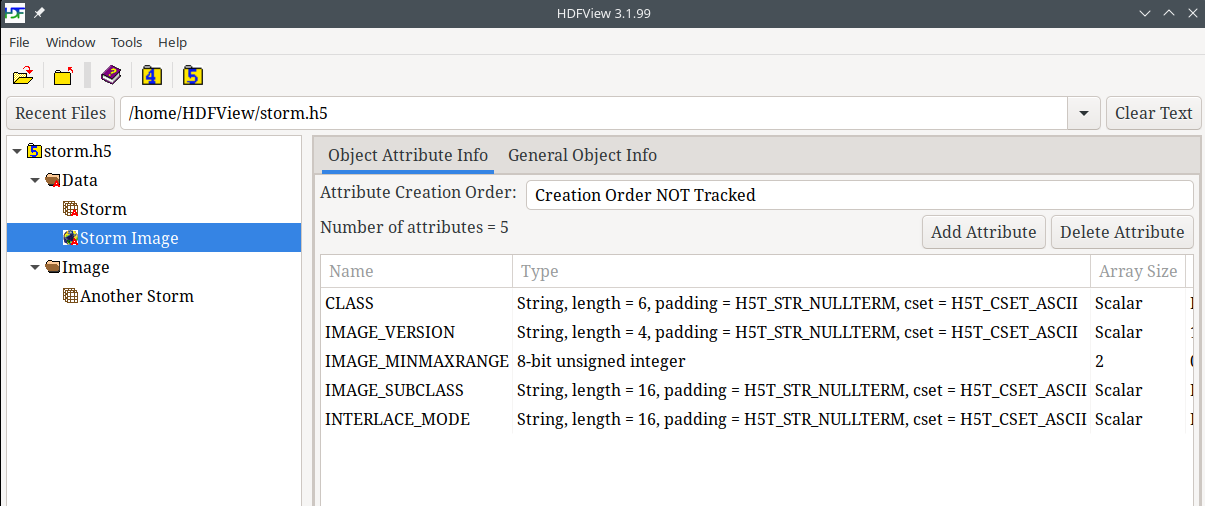
Additional information to describe an object can be stored in attributes. An attribute can be added to a group or dataset with HDFView.
The following illustrates how to add an attribute to the group /Data:
|
| Name | BatchID |
|---|---|
| Type | INTEGER |
| Size (bits) | 32 |
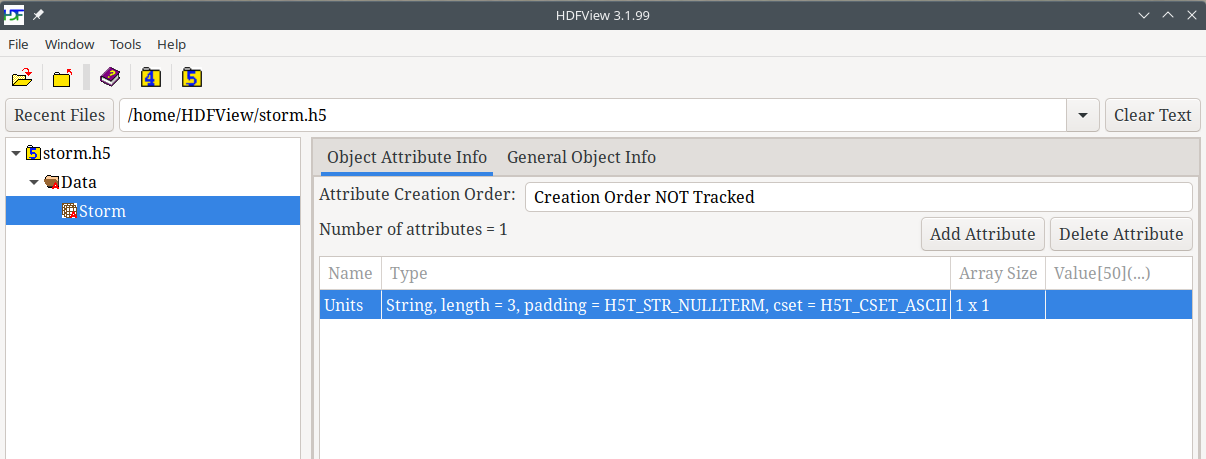
Adding an attribute to a dataset is very similar to adding an attribute to a group. For example, the following adds an attribute to the /Storm dataset:
| Name | Units |
|---|---|
| Type | STRING |
| String Length | 3 |
|
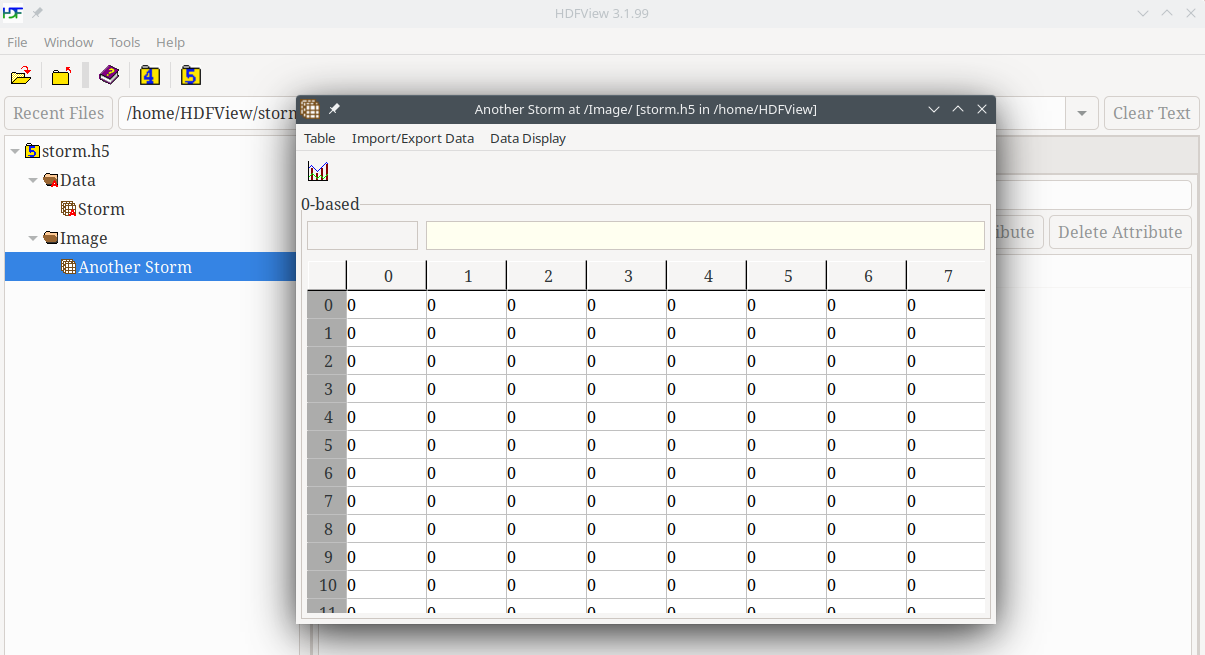
A chunked and compressed dataset can be created using HDFView. A compressed dataset is a dataset whose size has been compressed to take up less space. In order to compress an HDF5 dataset, the dataset must be stored with a chunked dataset layout (as multiple chunks that are stored separately in the file).
Please note that the chunk sizes used in this topic are for demonstration purposes only. For information on chunking and specifying an appropriate chunk size, see the Chunking in HDF5 documentation.
Also see the HDF5 Tutorial topic on Creating a Compressed Dataset.
|
| Dataset name | Another Storm |
|---|---|
| Under Dataspace, Current size | 57x57 |
| Storage Layout | Chunked |
| Chunk Size | 20x20 |
| Compression | gzip |
| Compression Level | 9 |
|
|
|
A previous topic demonstrated how to view any dataset as an image in HDFView. With HDFView you can also create an image to begin with, as is shown below.
A window pops up on the right. Enter the following and then click Ok:
| Image name | Storm Image |
|---|---|
| Height | 57 |
| Width | 57 |
|
|
|
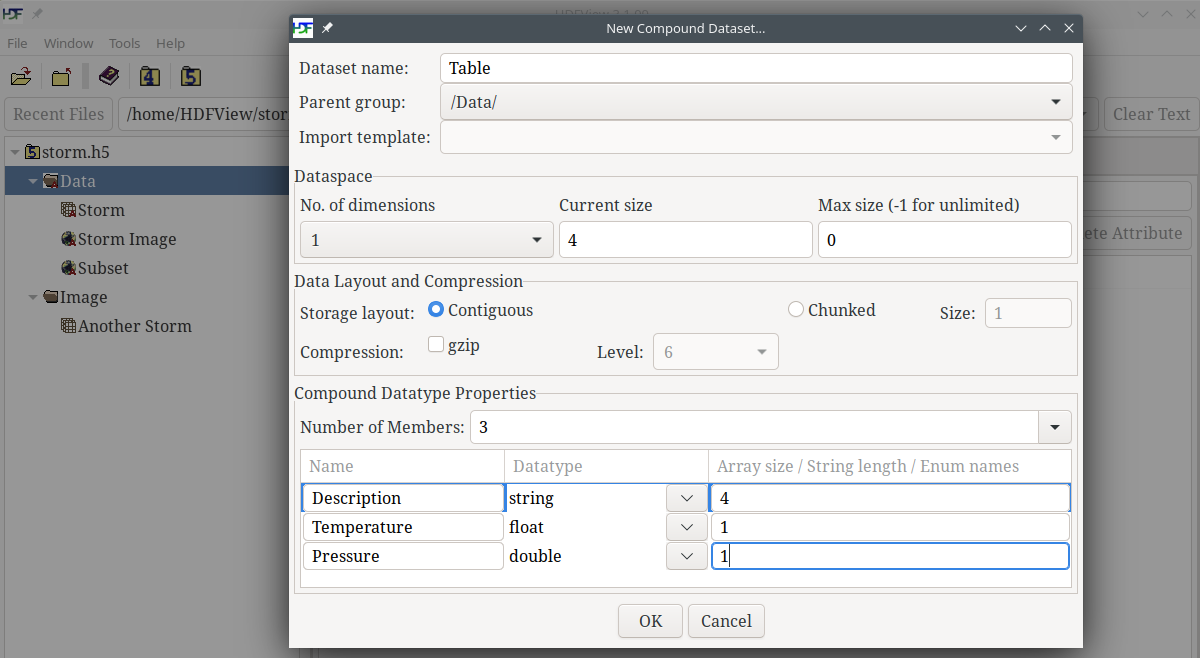
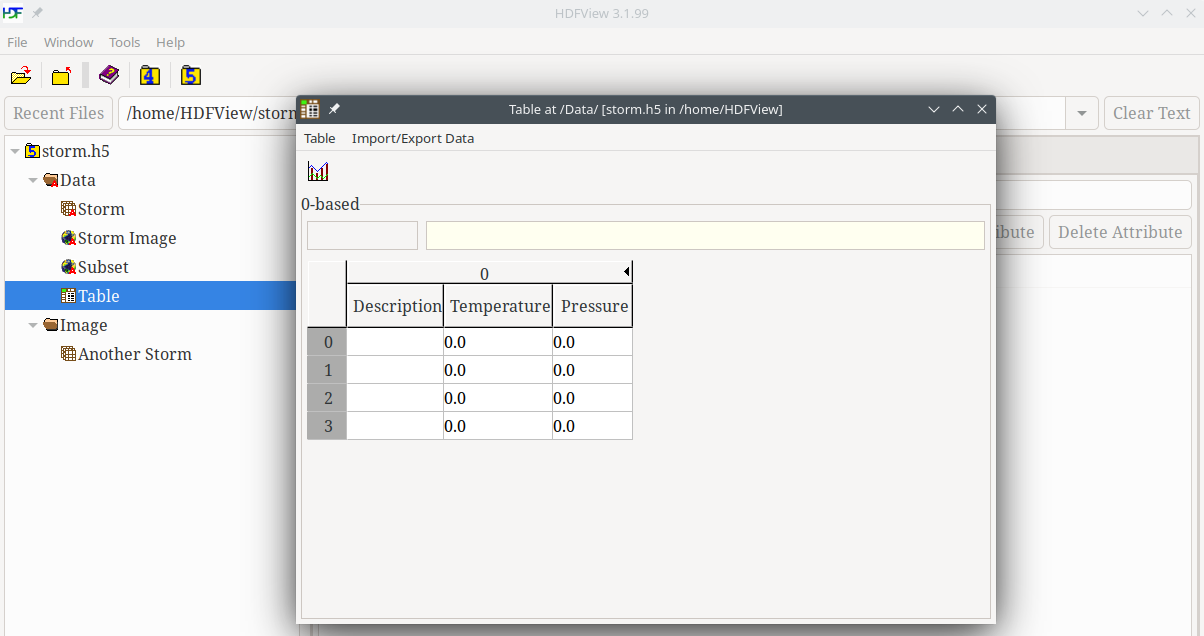
A dataset with a compound datatype contains data elements that consist of multiple fields. If the dataspace for the compound dataset is one-dimensional, then the dataset can be viewed as a table in HDFView, as is shown below.
A window pops up. Only fill in the following fields:
| Dataset name | Table |
|---|---|
| Dataspace (Current size only) | 4 |
| Compound Datatype Properties: Number of Members | 3 |
| Compound Datatype Properties: Name / Datatype / Size | Description / string / 4 Temperature / float / 1 Pressure / double / 1 |
|
|
Navigate back: Main / Getting Started with HDF5
 1.9.8
1.9.8